
Hello! I wanted to bring you my version of an Easy DIY Boys Bow Tie. During this past holiday season, my son came home with a note from the teacher stating that the school was having a Holiday Show and what he needed to wear for the show. He would be required to wear a button down white shirt and black pants and a red bow tie. Well, he had everything except a red bow tie. So I did what any crafty Mom would do. I got to googling and off to YouTube I went!
I found two tutorials that I liked. I decided to combine what I liked from each video and make my own version. The first video I found was by Tracy Robinson and her video can be found here. The second video I found was by Thimble Art and their video can be found here.
Here is how I made my bow tie.
I used the following measurements:
Main piece – 4 1/2″ x 7 1/5″
Second bow tie piece – 3 1/2″ x 7 1/2″
Necktie – 14″ x 2″
Small center – 2″ x 3″
Interfacing – 1″ x 3″
Use a 3/8 seam allowance unless indicated.

- Cut out pattern pieces made using dimensions above or use your own measurements.
- Using your pattern pieces, cut out 1 of each pattern piece using fabric of your choice. I used leftover fabric I had from a dress I made recently. The fabric was purchased at www.joann.com.
- Cut out a piece of light to medium weight interfacing for the 1″ x 3″ pattern piece.
- With right sides facing, fold your fabric in half lengthwise and sew around the rectangle piece leaving an opening at the bottom big enough for you to turn the fabric inside out.
- Do the same with the second main piece.
- Turn your rectangle inside out so that the right side of your fabric is showing and pick your corners out so they will look nice a crisp.
- Tuck the opening in along your seam and blind stitch or machine sew your opening closed. I used my machine.
- Iron your rectangles.
- Now stack your rectangles on top of each other with the larger one on the bottom.
- Thread a needle with matching thread and weave your needle in and out down the middle of your bow tie using 1/2″ intervals starting from the top of your rectangle. (See Thimble Art video.)
- Pull the thread tight and you should see the start of your bow tie! Tie the end of the thread in a knot so your bow tie does not come apart.
- Line up your interfacing piece to the bottom of your small center piece and iron the interfacing on using the instructions that came with your interfacing.
- Fold the center piece in thirds evenly starting with the side your interfacing is on. (As shown in Tracy’s video)
- Iron it down.
- Stitch closely to the edge along the open side.
- Take your middle piece and wrap it around your bow tie. Try to wrap it so that the end of the center piece is behind your bow. When done turn under the edge and blind stitch it closed. Make sure the stitched side is behind your bow so it won’t show.
- Take your necktie piece and with wrong sides facing fold it in about 1/4 of an inch and iron it down to create a crease. Do the same thing with the other side.
- Now fold it in 1/2 with wrong sides facing so the right sides are showing and fold it and iron it in 1/2. This will look like an almost complete necktie. Now open it.
- With wrong sides showing, stitch the two ends closed. Clip your corners. (Same as Tracy’s video)
- Now turn the ends inside out and iron it. You should have 2 stitched sides and the middle will be open. Iron it down.
- Stitch around the entire necktie close to the edge.
- Pull your necktie through the middle piece of your bow tie on the backside and tadah!
- Ok well not quite. I attached stick on velcro circles I had lying around for my closure.
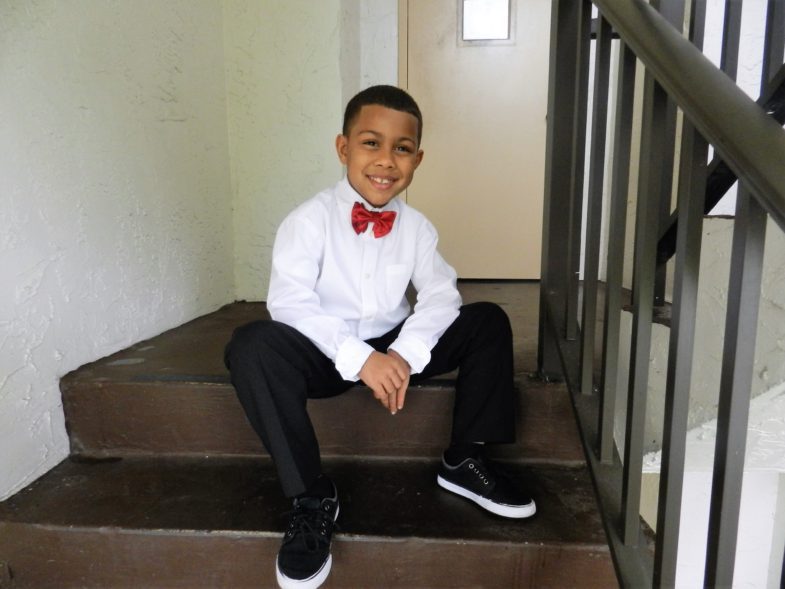
I hope this wasn’t too hard to follow along with. Let me know if you give this a go. I thought it was pretty easy to make and my son loved his bow tie. If you can’t imagine what I’m saying, watch the videos mentioned or just leave me a comment and I will be more than glad to help.


So handsome! I love it!!!
So handsome! I love it!!! That’s my boy!!
Thank you Shelah! I think he’s digging his new gig as my model. Lol